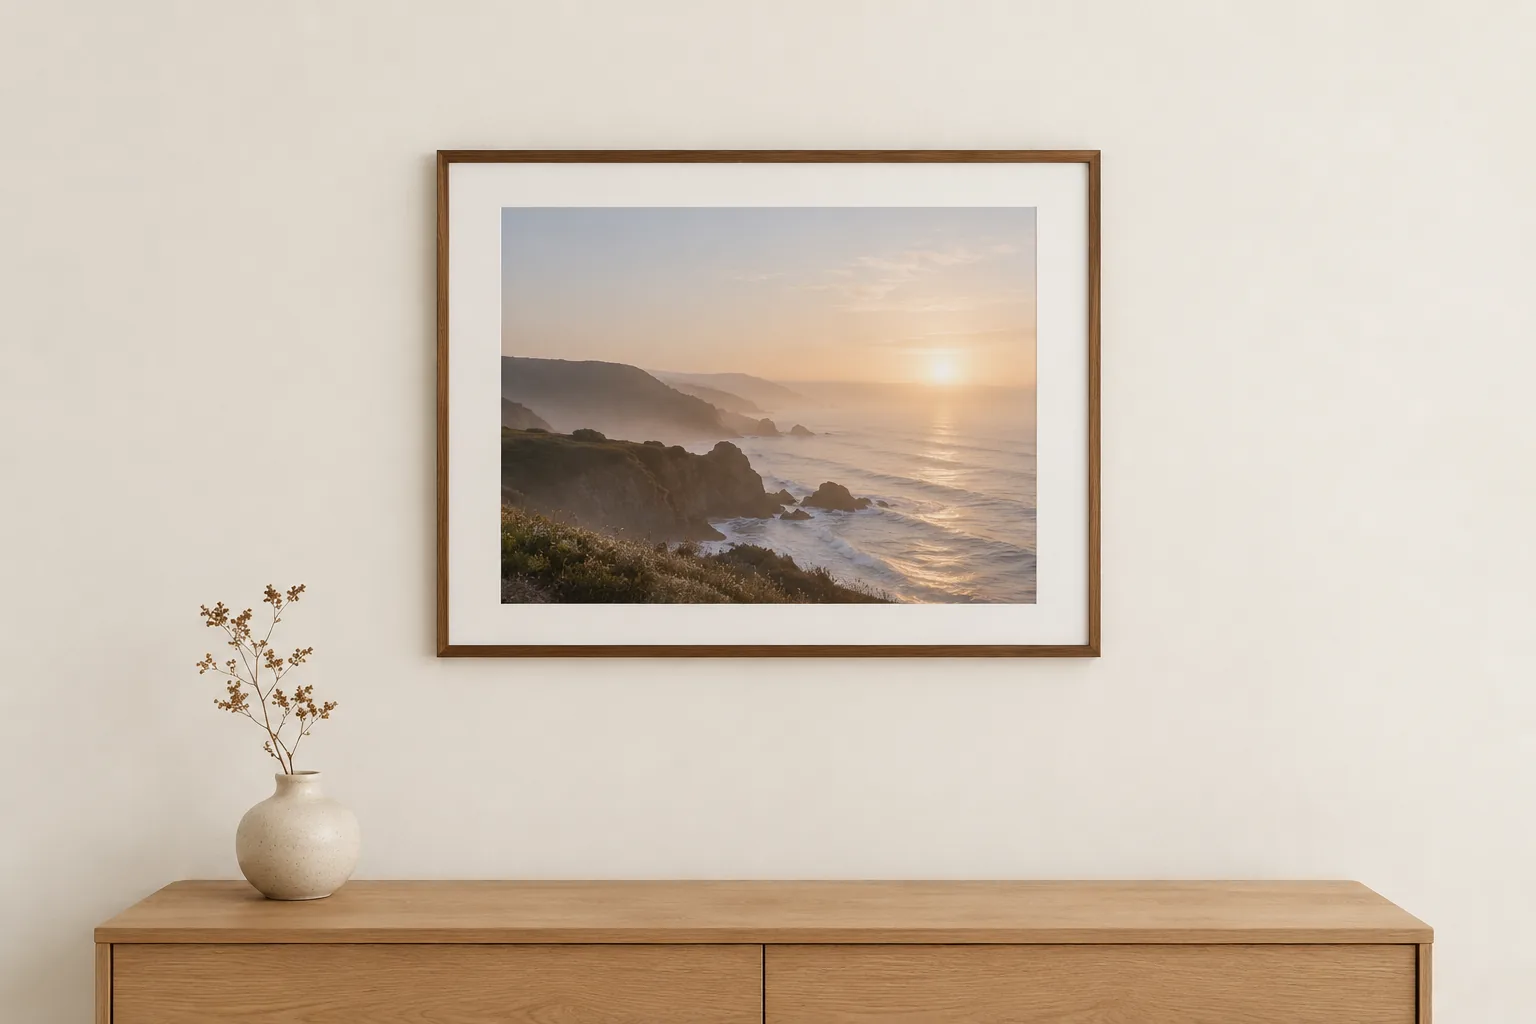
Most of the best photographs people take never leave their phone. That is a shame, because a modern phone camera is easily good enough for a print you would be proud to hang. This guide takes you from a photo in your camera roll to a framed poster on the wall.
Step 1: choose the photo
Not every good photo makes a good poster. On a wall, a picture is seen from a few steps away, so look for:
- A clear subject. One strong shape reads from across a room; a busy scene turns to noise.
- Good light. Soft morning or evening light prints beautifully. Harsh midday shadows and dark indoor shots print worse than they look on a bright screen.
- Sharpness where it matters. Zoom in on the subject. If it is soft on your phone, it will be softer on the wall.
Step 2: use the original, not a copy
This is the step most people get wrong. Photos sent through messaging apps or saved from social media are shrunk to save data, often to a tenth of their original size. They look fine on a phone and print blurry.
Always use the original file from your camera roll. If someone else took the photo, ask them to send the original as a file rather than through a chat.
Step 3: check the size will print well
The working rule for prints viewed close up is 300 pixels per inch of print. For large posters seen from a distance, 150 is fine.
- A 12 by 18 inch poster at 300 per inch needs about 3600 by 5400 pixels.
- At 150 per inch, the same poster needs about 1800 by 2700 pixels.
Most phones from the last few years produce photos around 4000 pixels on the long side, so an original phone photo clears a medium poster comfortably.
Step 4: add a caption, keep it short
A short caption turns a nice photo into a keepsake. A place and a year is usually all it needs: "Coastline, 2026". A long caption competes with the picture instead of supporting it.
Step 5: pick a frame that suits the picture
- Black suits high-contrast and black-and-white photos, and disappears on dark walls.
- Wood tones warm up landscapes and portraits.
- Gold reads as formal, and works well for anniversaries and family keepsakes.
A wider border makes a small image feel deliberate. A thin border on a large image can look like an accident.
Step 6: print it
Take the exported file to a local print shop or upload it to an online printing service. Ask for a matte or lustre paper for photos that will hang near a window, since gloss shows reflections.
Make yours now
The poster maker lets you upload a photo, add a caption, choose a frame and export a high-resolution PNG ready for printing. Your photo is processed inside your browser and never leaves your device.
Making it as a gift? See how to make an anniversary calendar photo poster with eighteen of your photos.