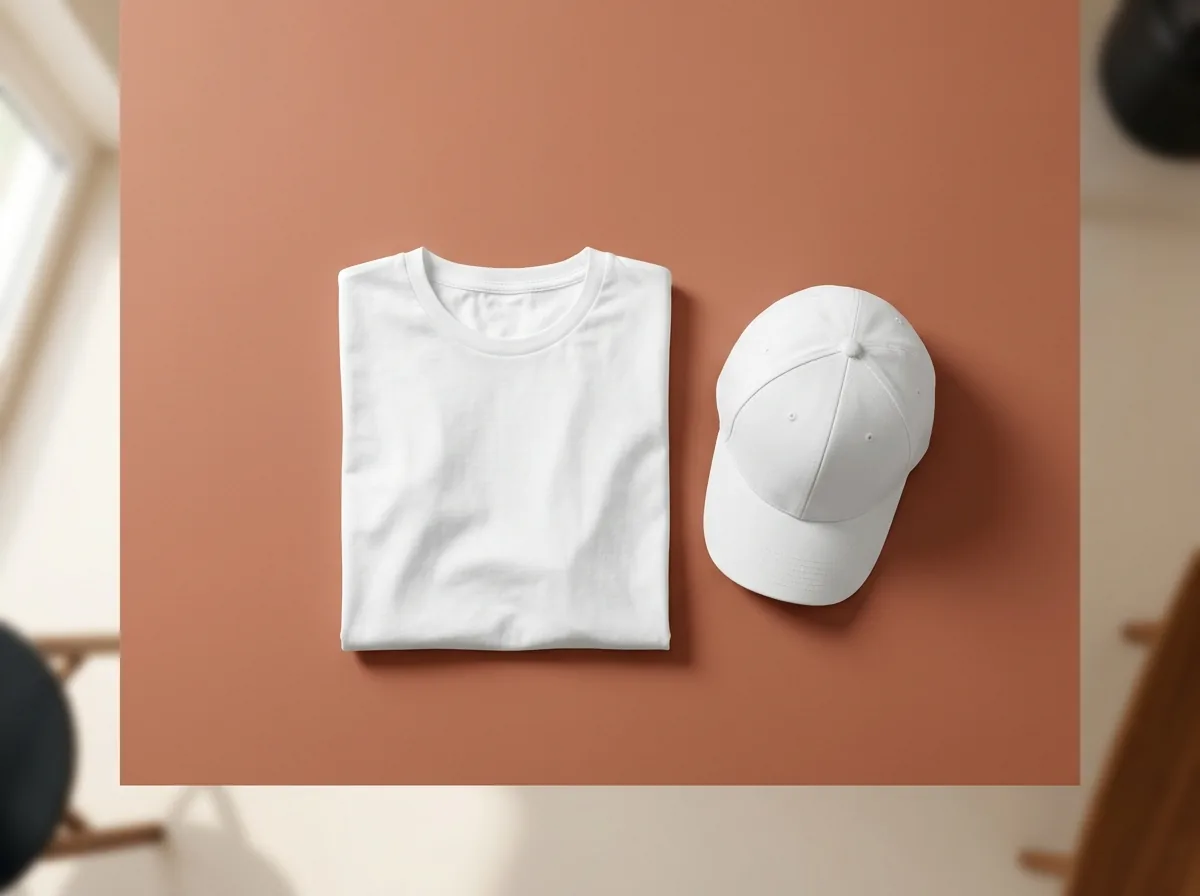
If you sell through a print-on-demand service, you never hold the product before your customer does. That is the whole appeal: no stock, no upfront cost. The catch is that you still need photographs for your listing, and ordering a sample of every design in every colour gets expensive fast.
A mockup solves this. It places your flat artwork onto a photograph of a real product, following the folds and shadows of the fabric, so the buyer sees the finished item instead of having to imagine it.
Why a mockup sells better than flat artwork
A flat design on a white background asks the buyer to do the work: to picture it on a shirt, guess the size, imagine how it looks when worn. A mockup answers all of that in one glance. It also makes your shop look consistent and professional, which matters when buyers are comparing you with a dozen other sellers.
Step 1: prepare the artwork properly
Most of a mockup's quality is decided before you open the mockup tool.
- Work at print resolution. That means 300 DPI at the final printed size. A chest print 12 inches wide needs artwork about 3600 pixels wide.
- Use a transparent PNG. Anything not printed as a rectangle needs a transparent background, or you will see a white box on the shirt.
- Trim to the edges of the design. Extra empty space around the artwork makes it harder to size and position.
- Check contrast on every colour you sell. Dark navy text disappears on a black hoodie.
Step 2: place it where a printer would
Placement is where amateur mockups give themselves away. A few conventions:
- A standard adult front chest print is about 11 to 12 inches wide, starting two to three inches below the collar.
- A left chest logo is about 3 to 4 inches wide.
- A back print usually sits a little lower than the front and can be slightly larger.
A print far outside these sizes tends to look like a mistake rather than a style choice.
Step 3: show more than one view
Buyers want to see the product from more than one angle. Show the front, show the back if it is printed, and show it worn on a model or styled on a hanger. A second product in the same design, such as a matching cap or bag, makes the listing feel like a collection.
Step 4: export at the right size
Most marketplaces display listing images square or close to it, and zoom in on them. Export the largest size available and let the marketplace scale it down, never the other way round.
Make one now
The t-shirt mockup generator has photographic templates for t-shirts, hoodies, caps, bucket hats, shopping bags, framed posters, roll-up banners and business cards, front and back views included. Upload your design, drag it into place on the preview, scale it, and export. Your artwork stays in your browser the whole time; it is never uploaded to a server.